Tel: +86 13632635357
WhatsApp: +86 13632635357
Email: sales@miyoenergy.com


For any DIY project, you need a good battery. Whether it's a robot, a lamp, or a smart planter, a reliable battery makes sure it works well.
However, beginners often face the same issues:
Incorrect model: the battery does not fit, voltage is wrong, or the connector is Can't work together.
· Unstable power: the device turns on and off during use.
· Safety risks: unprotected cells may short-circuit, overcharge, or overheat.
This guide explains how to choose the right small battery pack for DIY projects.
It also includes recommended battery options for common DIY builds and important soldering safety notes.
It also explains why small battery packs are a great choice for beginners:
• Flexible Size: They come in many sizes to fit different projects.
• Built-in Safety: They include short-circuit protection, making them safer for learning.
1. Why Randomly Buying a Battery Often Fails
1) Model mismatch: wrong size or wrong voltage
DIY projects usually have limited internal space. If you do not check the battery size (thickness × width × length), it may not fit the case. Common mistakes include:
· Using a 3.7V lithium battery to replace a 1.5V AA battery → the higher voltage damages the circuit
· Choosing a large-capacity battery for a low-power module → unnecessary size and weight
2) Unstable power during operation
Unstable power often happens because of:
· Low-rate batteries powering high-current loads
· Poor-quality protection boards
· Old batteries with high internal resistance
Motor-based projects, such as small cars or robots, need high starting current. If the battery cannot support this, voltage drop will happen.
3) Safety problems: short circuits, over-discharge, swelling
DIY users do a lot of soldering and rewiring, which increases risk. Common hazards include:
· Short circuits from touching positive and negative wires
· Over-discharge causing permanent battery damage
· Over-charge leading to swelling
This is why safety features must come first.
2. Battery Selection Rules: Works with each other + Protection = Safe DIY
1) Choose small battery packs with many size options
For DIY, battery size flexibility is often more important than capacity. Good choices include:
· Thin lithium cells: 301230 / 401230 / 502030 / 603040
· Packs that allow custom wire length, connector type, and capacity
· Suppliers that provide size drawings or 3D models
This reduces the chance of buying a battery that does not fit your project.
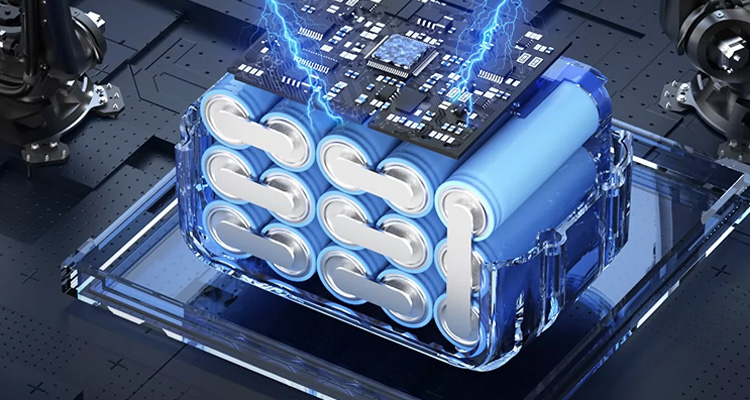
2) Use battery packs with built-in short-circuit protection
DIY projects involve open wiring, frequent soldering, and quick changes. Therefore, these protections are essential:
· Short-circuit protection
· Over-charge protection
· Over-discharge protection
· Over-current protection
You can naturally highlight your company’s advantages:
Designed for DIY safety, our battery packs feature built-in safeguards. These protect against short circuits, overcharging, deep discharging, and current surges to prevent damage to your projects.
3) Match capacity and discharge rate to your project
Different DIY builds require different currents:
Project Type | Feature | Recommended Specs |
Creative LED / ambient light | Low and stable current | 150–500mAh, 1C discharge |
Smart plant pot / sensor projects | Many standby periods | 500–1200mAh, low standby protection board |
Robot cars / motors | High start-up current | 3C–5C discharge or higher |
Wearable devices | Light and thin | 150–300mAh, thin cells under 4mm |
3. Battery Suggestions for Common DIY Projects
1) Smart plant pot (sensor + pump)
· Single-cell 3.7V lithium battery, 600–1000mAh
· Pump may need a boost converter
· Low standby current is important
2) Desktop robot / mini car
· Single cell 800–1200mAh or two cells in parallel
· ≥3C discharge
· Best with reinforced protection board
3) Creative LED desk lamp / ambient light
· 300–500mAh
· 1C discharge is enough
· Use USB charging module (like TP4056)
4) Wearable tag, necklace light, or badge
· 150–300mAh thin cell
· Prefer 2–5mm thickness
· Wires should be flexible and strong
4. Soldering and Usage Safety Tips for DIY Users
1) Cover exposed terminals before soldering
This prevents accidental short circuits.
2) Do not solder directly on the battery tabs
Always solder on wires or the protection board pads.
3) Keep the battery away from heat
Avoid hot glue guns, soldering irons, and heaters.
4) Do not run the battery to 0%
Lithium cells below 2.5V may be damaged. Charge when 20–30% remains.
5) Leave space for heat and slight expansion
Battery cases should not press tightly against the cell.
5. Conclusion: The Right Battery Makes Your Ideas Come Alive
For DIY makers, a battery is not just a power source. It affects stability, safety, and the overall experience. With multiple size choices and built-in protection, you can reduce failure rates and let more of your ideas work smoothly.